Quick guide
Create an account, get your service-account keys, and make your first authenticated PaymentGateway API request.
This guide takes a merchant developer from zero to a first authenticated API call. For the full authentication reference (token types, TTLs, the OAuth flow), see Authentication.
1. Create an account
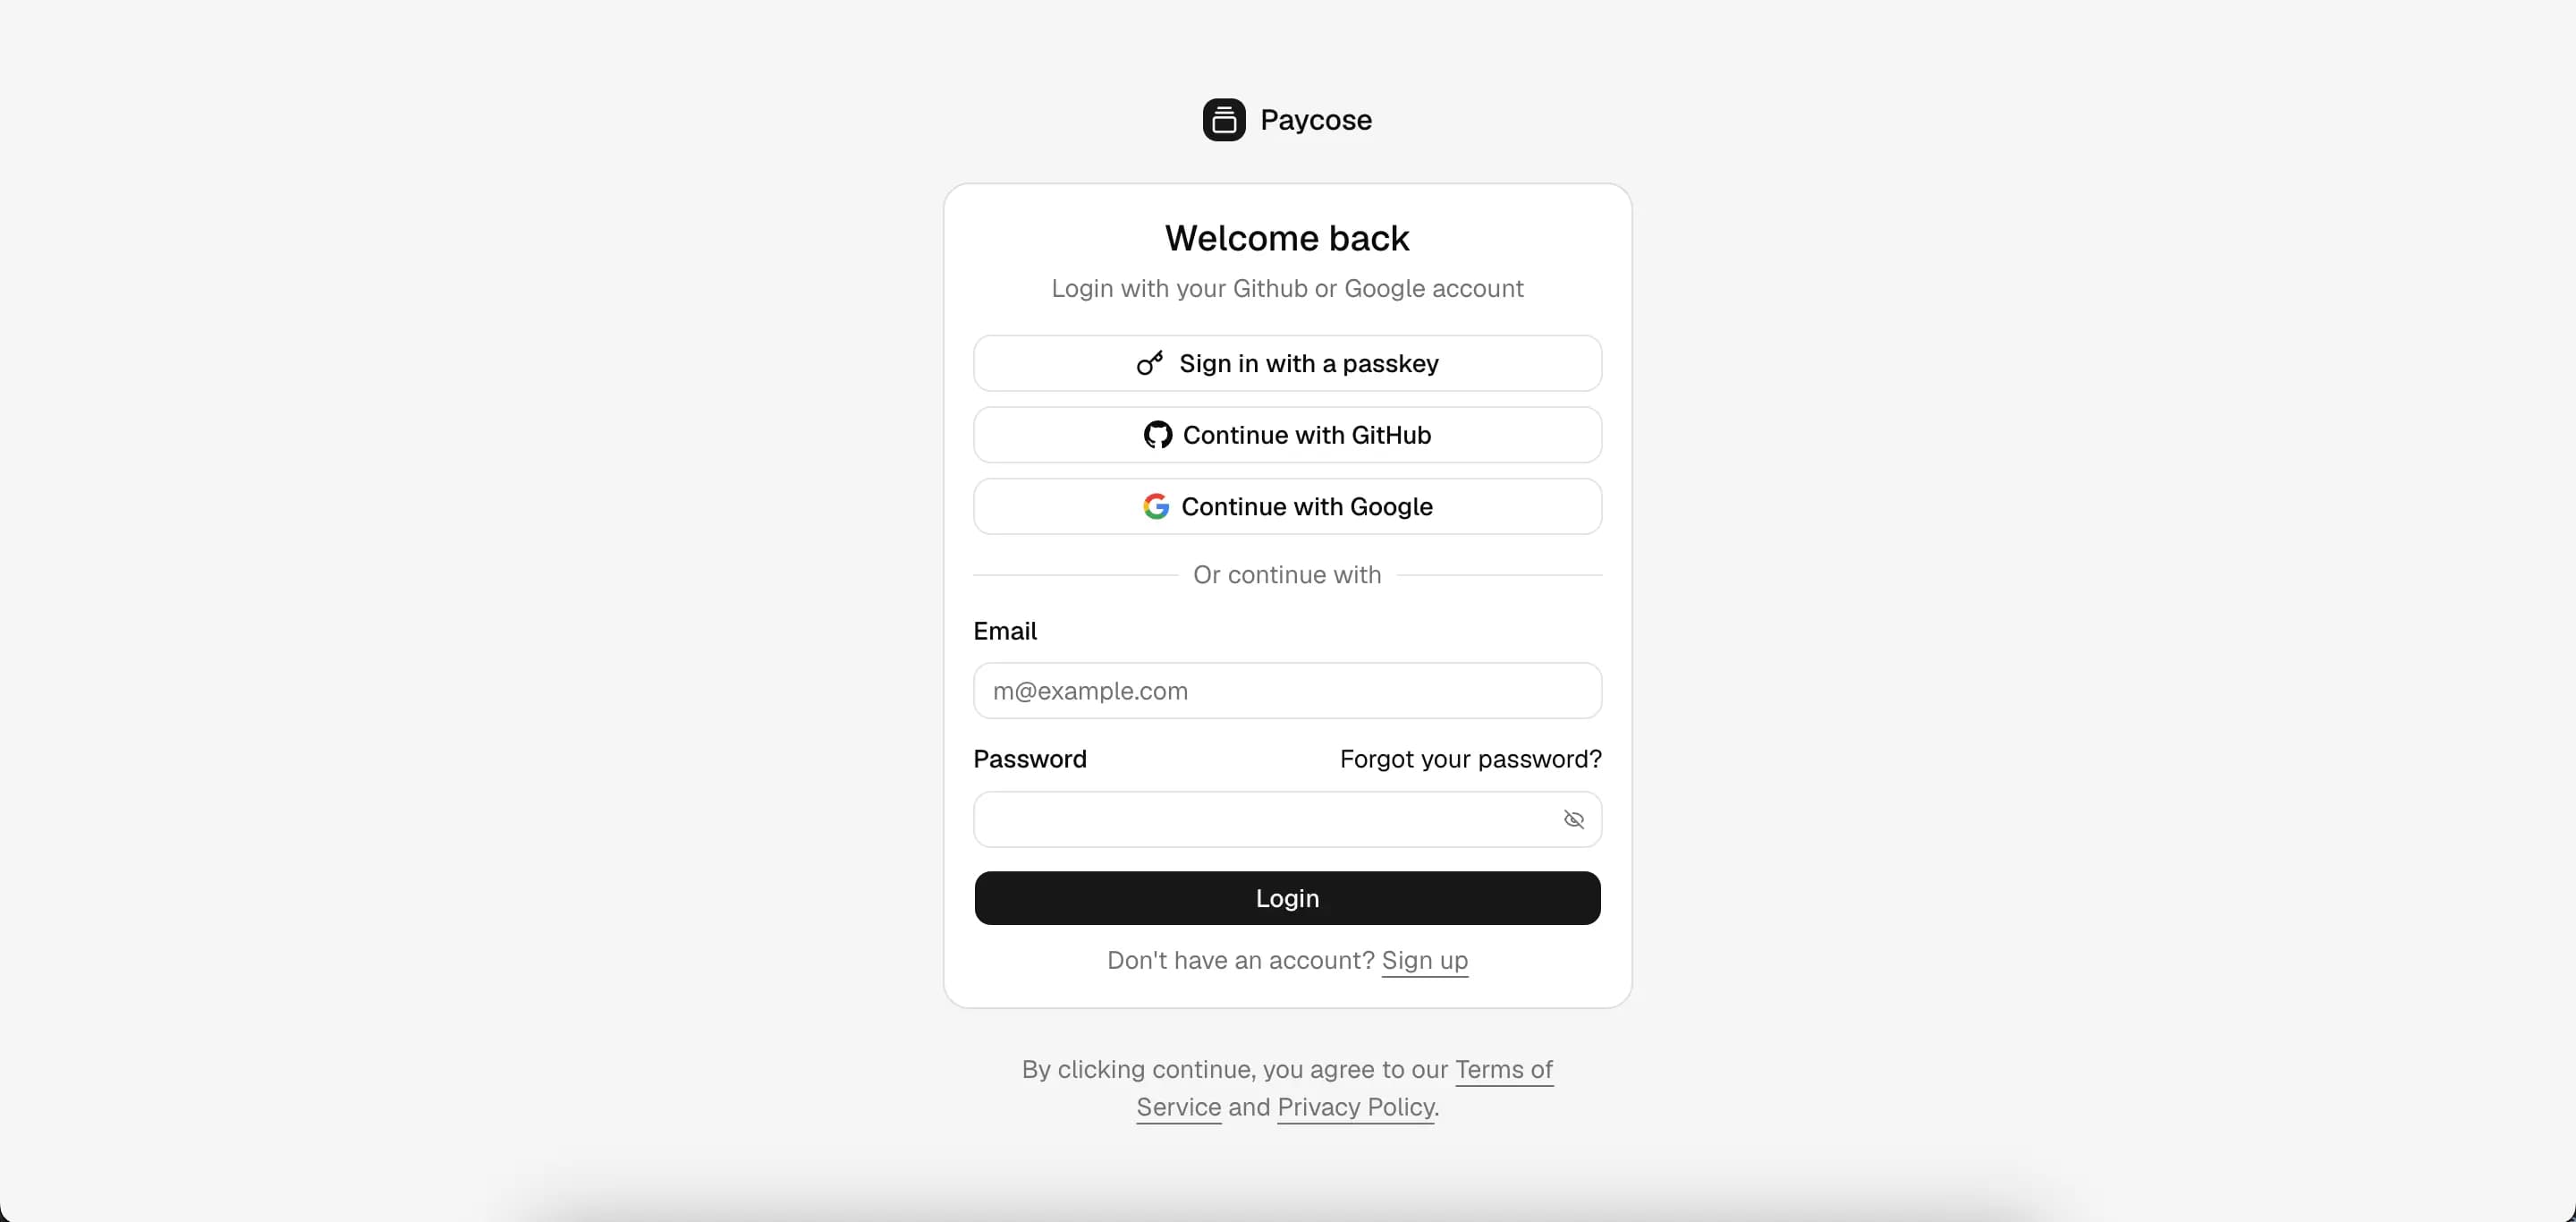
Sign up or sign in to the dashboard at https://dashboard.paycose.com. Everything in the rest of this guide — your application, your countries, your API keys — is created from there.
2. Get your service-account keys
A service account is the API key pair your server uses. Create one from the
dashboard (or via POST /service-accounts).
Creating one requires a KYB-verified account at AAL2.
You get back two keys:
| Key | Shape | Use |
|---|---|---|
publishable_key | pk_p256_<hex> | Embed in browser/mobile SDKs for ECDH card encryption. Also the client_id when minting OAuth tokens. Readable again at any time. |
secret_key | sk_p256_<base64url(PKCS8)> | Server-side only. Authenticates your API requests and signs JWT client_assertion payloads. |
The secret_key is returned only once, at creation — it is never readable
again. Store it immediately. If you lose it, the only recovery is
POST /service-accounts/{id}/roll_key, which rotates the pair and invalidates
both old keys.

export SECRET_KEY="sk_p256_..."3. Authenticate
For server-to-server integrations, authenticate with your secret key using HTTP Basic auth — the key is the username and the password is left empty:
curl "$WALLET/charges" \
  -u "${SECRET_KEY}:"
That is equivalent to sending a Base64-encoded Authorization: Basic header:
const auth = "Basic " + btoa(`${SECRET_KEY}:`);Dashboard / user-facing integrations use an OAuth 2.0 bearer token instead
(Authorization: Bearer <access_token>). Both schemes — plus the one-time
checkout session — are covered in Authentication.
4. Find your application and country
Your request path and headers need two values: your application id and the country you are operating in. Both come from the API.
List the applications you belong to with
GET /oauth/me/applications:
curl "${base_url}/api/v1/oauth/me/applications" \
  -u "${SECRET_KEY}:"
Then list the countries configured for that application with
GET /applications/{application_id}/countries:
curl "${base_url}/api/v1/applications/${APPLICATION_ID}/countries" \
  -u "${SECRET_KEY}:" \
  -H "X-Country: TH"
Each entry returns the country code, default_currency, provider, and
status. Keep the code — it is the X-Country header value for every
country-scoped call.
export APPLICATION_ID="app1"
export COUNTRY="TH"
5. Build your base URL
Every merchant API request goes to this path shape:
{base_url}/api/v1/{app}/platform/wallet/{resource}| Part | What it is |
|---|---|
{base_url} | https://api.paycose.com. Confirm the canonical host for your account with your integration contact. |
{app} | Your application id from step 4 (currently app1). |
{resource} | The endpoint, e.g. charges, customers, invoices. |
So a charge list in local development is
http://localhost:5002/api/v1/app1/platform/wallet/charges.
To keep examples short, the rest of this guide assumes:
export WALLET="${base_url}/api/v1/${APPLICATION_ID}/platform/wallet"
# e.g. http://localhost:5002/api/v1/app1/platform/wallet
6. Choose test or live mode
PaymentGateway keeps test and live data fully isolated in separate database
schemas. Select the mode per request with the X-Test-Mode header:
# Test mode — sandbox data, no real money moves
curl "$WALLET/charges" \
  -u "${SECRET_KEY}:" \
  -H "X-Test-Mode: true"
Omit the header (or send false) for live mode. Every response echoes which
mode produced it via the livemode boolean, so you can always confirm where
your data landed:
{ "id": "chg_123", "object": "charge", "livemode": false }7. Make your first request
List charges to confirm your credentials work:
curl "$WALLET/charges" \
  -u "${SECRET_KEY}:" \
  -H "X-Country: ${COUNTRY}" \
  -H "X-Test-Mode: true"
A successful call returns a paginated list. If something is wrong, you get a structured error envelope instead — see Errors for the shape and the full code catalog.